How to Save Canvas as Image in Javascript
How to Save HTML5 Canvas Drawing as an Image
Save it locally via hyperlink or sending it as blob file to a remote server
![]()

By reading this piece, you will learn to save a drawing on the HTML5 canvas element of your web application as an image. In this tutorial, I will be showcasing two methods to save it.
The first method is to store the image data inside a hyperlink (using the <a> tag). Then, you can download it manually from your browser via a manual click or trigger it programmatically using JavaScript. This option is good if you intend to let the users download it on their machine or just wanted to save a few images from the canvas.
As for the second method, I am going to convert the canvas as blob data and send it via FormData to a remote server. After that, you can easily save it on your server. This method is preferred if you are going to do data collection or saving a large amount of images from time to time.
Let's proceed to the next section and start implementing it on your application
Canvas
If you already have an existing canvas, feel free to skip to the next section for hyperlink implementation.
We are going to set up the canvas now. Make sure that you have declared a canvas element in your HTML file.
<canvas id="output" /> Add the following code in the script tag or your external JavaScript file. It will draw a simple circle on the canvas.
            let canvas = document.getElementById("output");
let ctx = canvas.getContext("2d");
ctx.beginPath();
ctx.arc(95,50,40,0,2*Math.PI);
ctx.stroke();
Hyperlink
Manual Click to Download
Add a hyperlink element in your HTML file. A hyperlink element is denoted by the <a> tag. You need to specify the download attribute which allows users to download the href file and then click on the hyperlink. Leave the href attribute as empty as we are going to populate it later on in JavaScript.
<a download="example.jpg" href="" onclick="downloadCanvas(this);">Download example.jpg</a> Assign the onclick event to a function called downloadCanvas in which should be implemented as follows:
async function downloadCanvas(el) {
const imageURI = canvas.toDataURL("image/jpg");
el.href = imageURI;
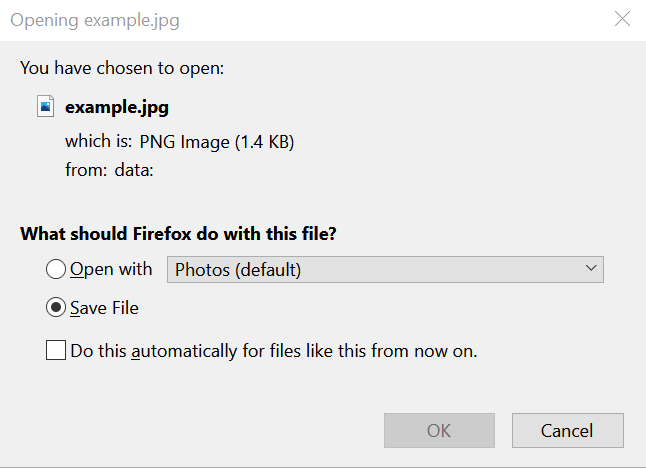
}; You can use toDataURL function which converts the drawing in the canvas to dataURL in which you can download it via the hyperlink. When you click on the hyperlink, it should prompt the open file dialog.
Programmatically Click to Download
In fact, you can use JavaScript to trigger the click event programmatically. One main advantage is that you can control and set the filename as well. Let's declare another hyperlink element with just the id attribute.
<a id="link"></a> Create a new function and append the following code inside it. We are going to utilize the setAttribute method to add the respective attributes to the hyperlink.
            async function autoDownloadCanvas() {
              let link = document.getElementById('link');                          link.setAttribute('download', 'example.png');
              link.setAttribute('href', canvas.toDataURL("image/png"));
              link.click();
}
FormData to Remote Server
In this section, we are going to convert the canvas into Blob data and send it as FormData to a remote server.
Blob object
Create a new async function and add the following code. canvas element comes with its own toBlob function which creates a Blob object that holds the image data in the canvas.
let imageBlob = await new Promise(resolve => canvas.toBlob(resolve, 'image/png')); toBlob function accepts the following input parameters.
-
callback— The callback function which returns the Blob object. -
mimeType— Format of the image. The default value is image/png. -
qualityArgument— A number between 0 and 1. Represent the image quality.
FormData
Next, create a new FormData and pass in the Blob object to the append function. append method accepts the following parameters:
-
name— Name attribute of the input -
value— Value of the input. Accepts either a string or Blob object. -
filename— An optional argument that represents the name of the file.
            let formData = new FormData();
formData.append("image", imageBlob, "image.png");
The code snippet above is akin to a user submitting a file called image.png to a form which contains <input type="file" name="image">.
Fetch
Once you are done with it, continue adding the following code snippet which makes an external call to a remote server. In this tutorial, I am going to use the fetch API. You can implement it with XMLHttpRequest or jQuery's AJAX as well, based on your own preferences. Make sure that you have an existing server that accepts a file input. Remember to replace the URL which points to your server.
            let response = await fetch('http://localhost:8000/image', {
              method: 'POST',
              body: formData
});
let result = await response.json();
Have a look at the following gist for the complete code to submit a FormData to your remote server.
You can now call the submitToServer function anywhere in your JavaScript file to send the canvas as an image file to your server.
Conclusion
Let's recap what we have learned today.
We started off with creating a simple canvas element and assigned it to a variable in our application.
Then, we implemented a simple feature that allows the users to download the canvas as dataURL when clicking on a hyperlink. Besides, we have also created a modified version of the function which can be triggered programmatically via JavaScript.
Lastly, we coded a simple function which converts the drawing as a Blob object and sends it to a remote server via FormData.
Thanks for reading this piece! Hope to see you again in the next article!
How to Save Canvas as Image in Javascript
Source: https://levelup.gitconnected.com/how-to-save-html5-canvas-drawing-as-animage-ca8047a9acf7